
Getting a local install of WordPress and its requirements installed and configured on Windows has always been problematic in the application (PITA). There are a few tools out there but the ones I have found were problematic in themselves including one that only allows the WordPress site to be viewed locally. WPInstaller and a few renamed install files will reduce this effort to near zero by installing and configuring WordPress and PHP to run on Internet Information Server (IIS) while installing and configuring MySQL as the back-end data source. WPInstaller will install all of the software and make necessary configuration changes to remove the manual effort usually needed.
Once you are done here and have WordPress setup consider using NoPress for a faster, more secure, static version of your site.
High Level Overview
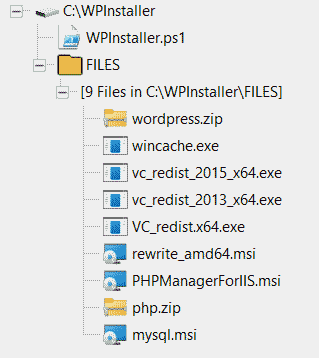
First DOWNLOAD WPInstaller then you will need to download the install files for the items below. You will need to copy them to the C:\WPInstaller folder along with the WPInstaller script. Rename the install files according to list below (new names in BOLD). Open PowerShell with Administrator privileges and run WPInstaller.
- MySQL – mysql.msi
- PHP – php.zip
- PHP Manager For IIS – PHPManagerForIIS.msi
- URL Rewrite – rewrite_amd64.msi
- Visual C++ Redistributal – VC_redist.x64.exe
- Visual C++ Redistributal 2013 – VC_redist_2013_x64.exe
- Visual C++ Redistributal 2015 – VC_redist_2015_x64.exe
- WinCache Extension for PHP – wincache.exe
- WordPress – wordpress.zip
Step-By-Step Instructions
STEP 1 : Download The Installer Files
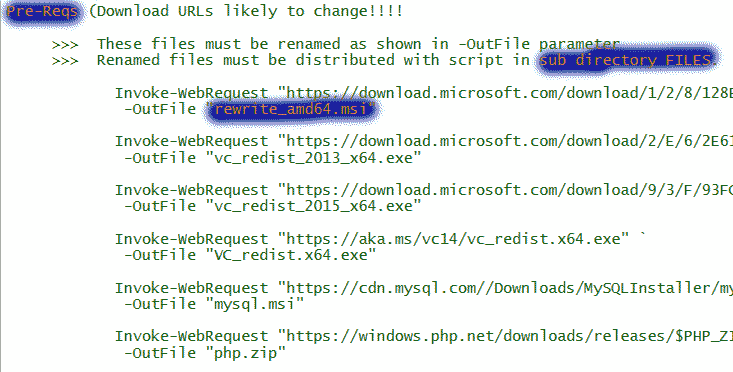
At the top of the WPInstaller script, in the Pre-Reqs section are several Invoke-WebRequest lines that should be run and observed for errors due to updated URLs. The downloaded files will be in your regular download folder and will need to be moved to the C:\WPInstaller\FILES sub-directory. If any files fail to download then use the URL in the Invoke-WebRequest line as a starting point to hunt down the current download. Make sure to re-name any files you manually download to match the name in the “-OutFile” parameter.
STEP 2 : Run The WPInstaller.ps1 Script
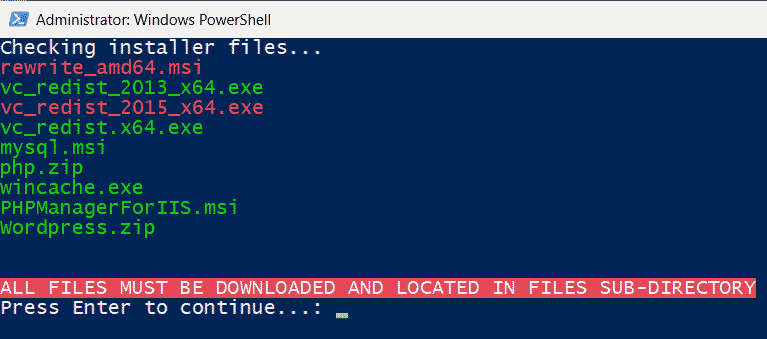
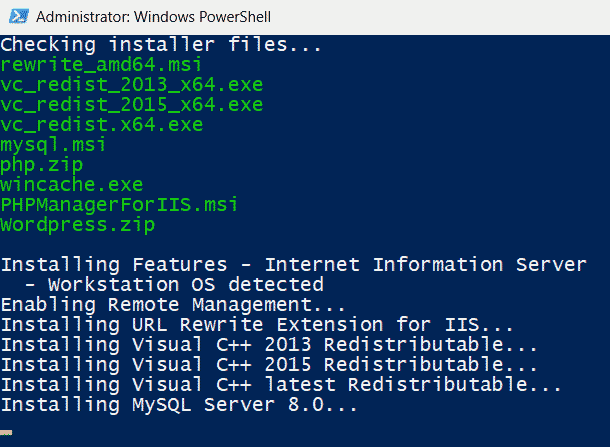
Note the script must be run with an admin account to be able to install all the software necessary. The first thing the script will do is make sure all the files needed exist with the right names in the FILES sub-directory. If any files are missing they will be hi-lighted in red and the script will exit. Once the files are all there, they will all show green and the script will continue to install the software.
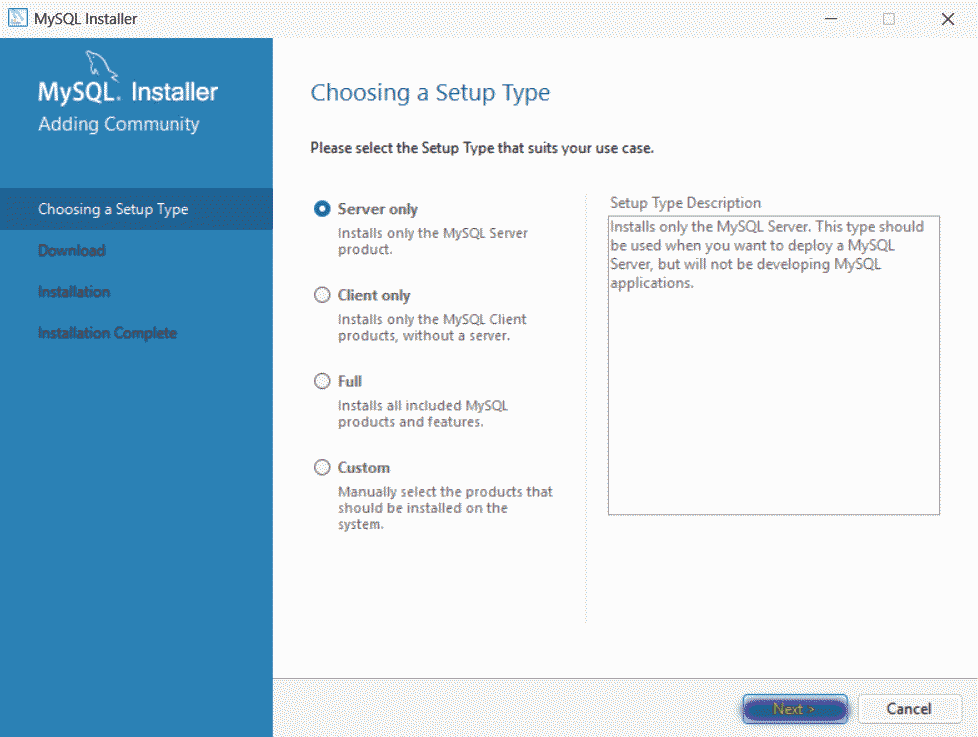
STEP 3a : MySQL Setup – Setup type
MySQL setup no longer likes to be automated so WPInstaller will launch the Graphical User Interface for a few quick choices. The first choice is to select “Server Only” and click next.
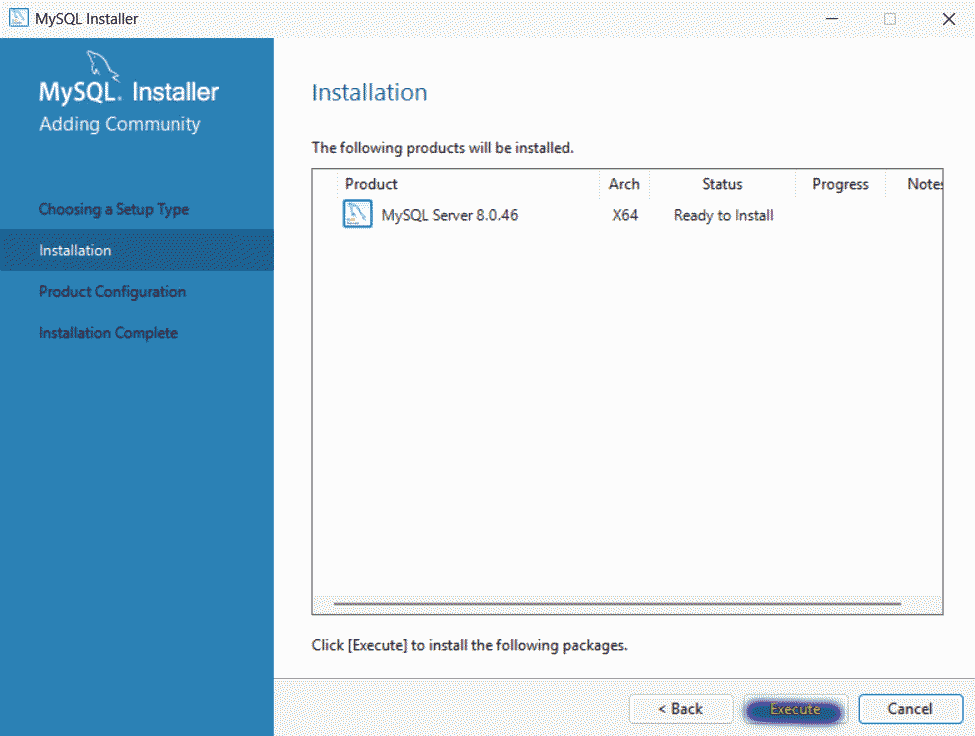
STEP 3b : MySQL Setup – Installation
Select Execute to install MySQL.
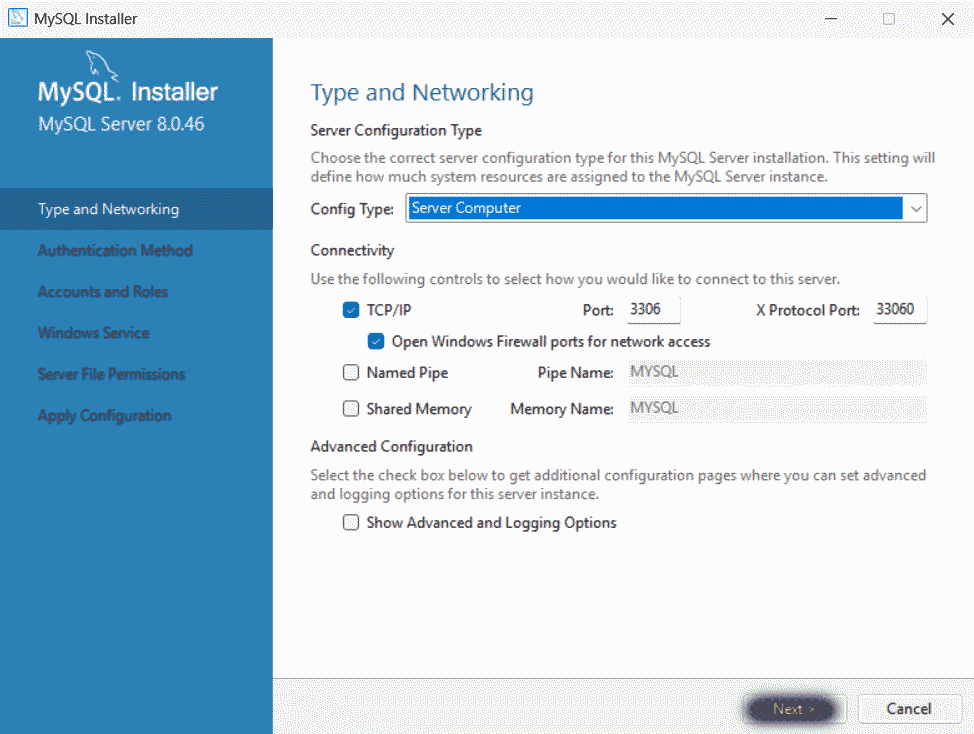
STEP 3c : MySQL Setup – Type And Networking
While most of these settings should be left as default, the common choice for config type would be Server Computer but your needs may vary.
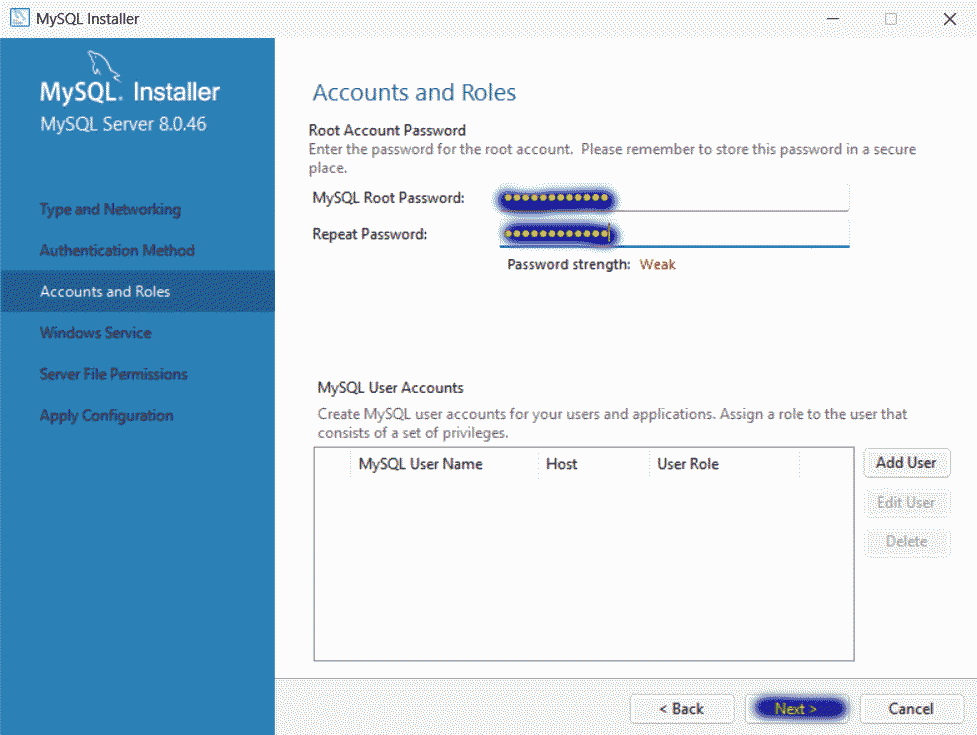
STEP 3d : MySQL Setup – Accounts and Roles
At this point you will configure the initial password for the MySQL root account. Note; this should be set to a simple, memorable password as it will be needed later. Do not worry about security at this point, the password will be changed. For these instructions we will simply use “EasyPassword”. Click next when ready.
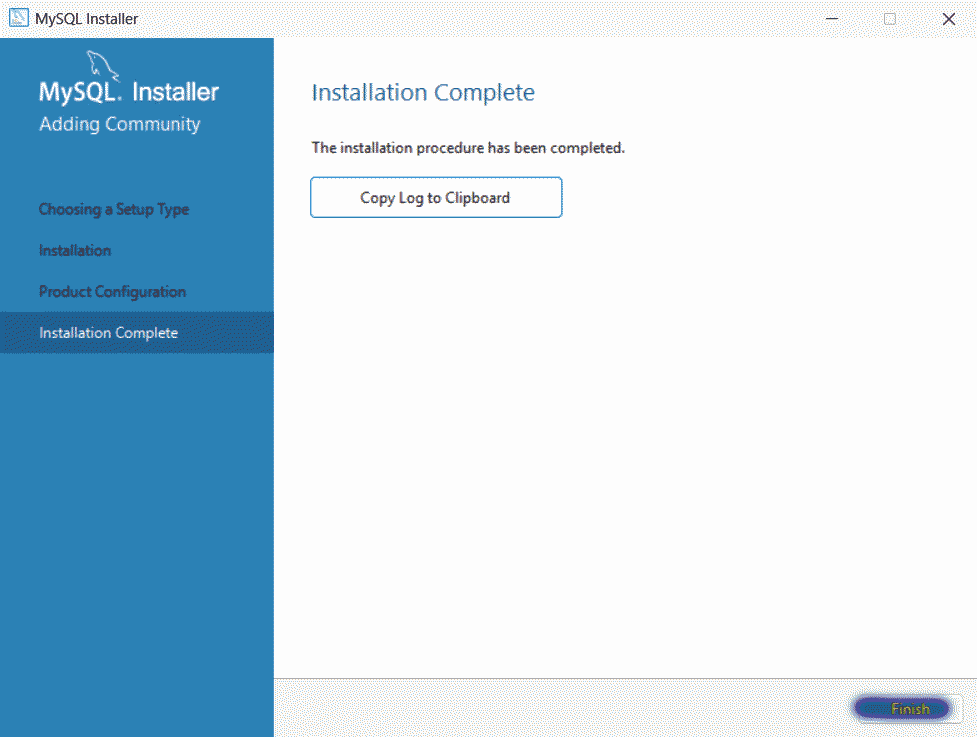
STEP 3e : MySQL Setup – Installation Complete
Once the setup is complete, click Finish to exit the MySQL setup and return to WPInstaller.
STEP 4 : Entering the MySQL Password
WPInstaller will need the password entered for the MySQL root account in STEP 3d to make some configuration changes in MySQL which will include creating a secure password for root and the new wordpress account.

WPInstaller will then display the new, secure passwords for the root and wordpress accounts. Save this information in a secure location. WPInstaller will now launch the local web browser to finalize the configuration of WordPress. If your browser does not automatically start you can use the URL listed manually.

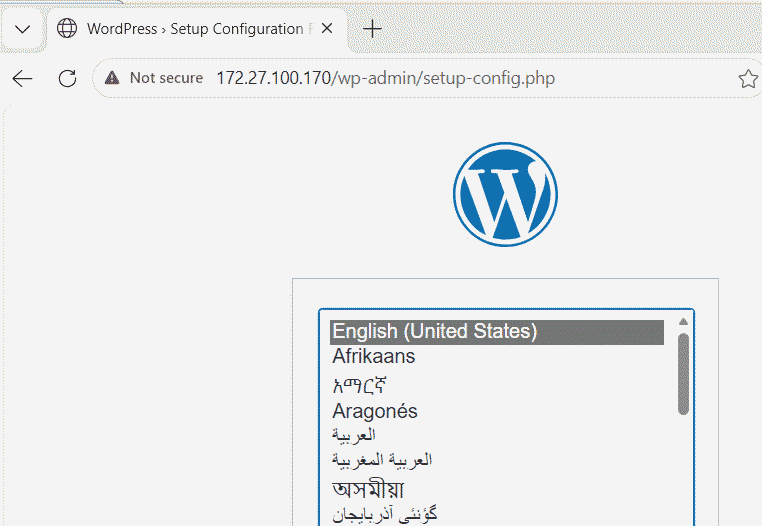
STEP 5 : Configure WordPress -Language
When the browser launches you should see the beginning of the WordPress configuration. Choose your desired language and click next.
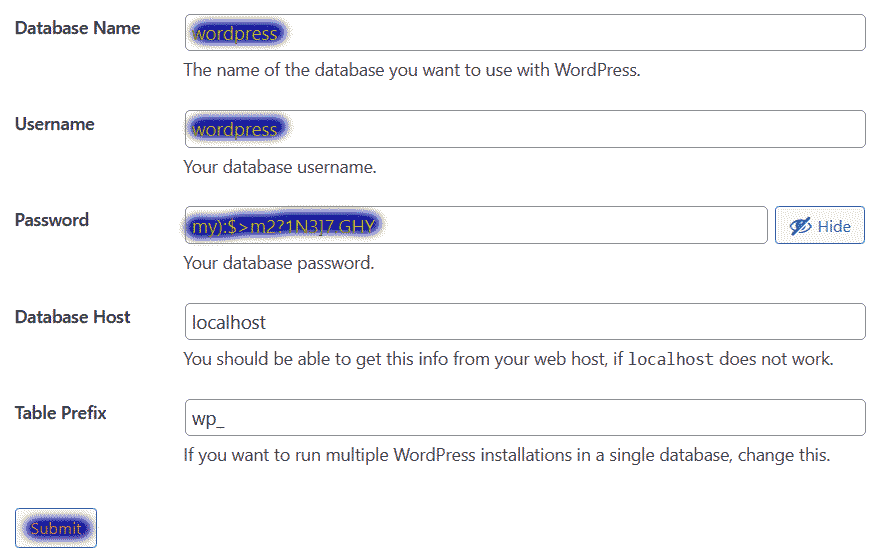
STEP 6 : Configure WordPress – Database Settings
WordPress saves all of its data in the MySQL database and WPInstaller has done the initial work on the MySQL side so all you need to do is point WordPress at the correct MySQL database. The database name is “wordpress” the user name is “wordpress” and the password is the one shown in latter part of STEP 4. Click submit when ready.
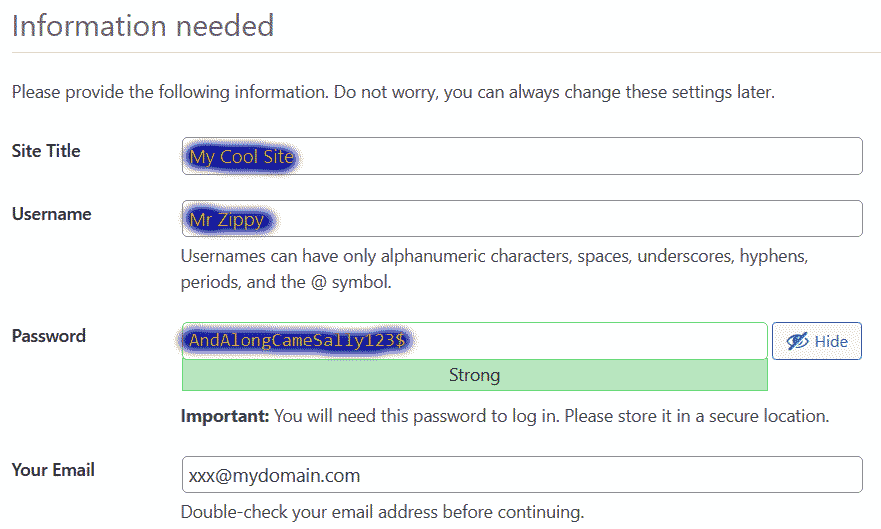
STEP 7 : Configure WordPress – Website Information
This is where you finally get to do you. Choose a spiffy name for your website, choose a username for the default admin user along with a secure but memorable password that will be used every time you want to administer the site. Click next when ready.
STEP 8 : Make A Website
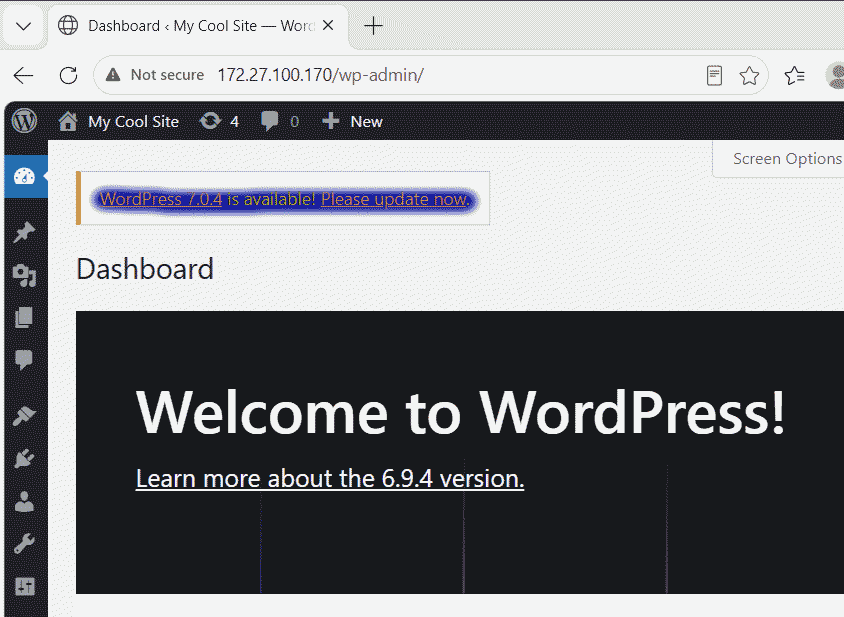
WordPress is fully functional by this point but make sure to update WordPress at this point if you are using an older install package.
-fini